Showing posts with label raised garden bed. Show all posts

Monday, August 15, 2011

What's the Dirt on Dirt? Filling the Raised Garden Bed

I've been thinking A LOT lately about dirt, soil, organic matter, compost, manure, microorganisms, soil amendments, etc.  It's been a while since we finished building the raised garden bed and since then, we've spent a lot of time trying to figure out what's going to go in it.  Not the fun stuff like plants, herbs, or veggies but the soil.  We're probably making this harder than we have to, but I think we're just a bit overwhelmed because we want to make sure we do it right.

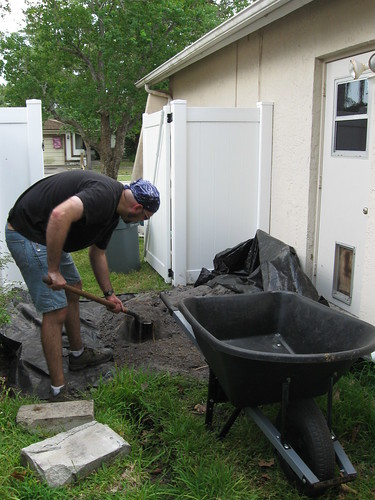
We have another yard project going on that will require us to dig up a whole mess of dirt, so we were originally planning on incorporating some of that into the garden bed.  We figured it would be a good way of upcycling something and also help us keep our costs down so that we don't have to buy as much of the amendments to make it good soil.

I sent a soil sample in to Florida's Extension Office to be tested and found out that our soil is a little too alkaline and that I would need to add some organic matter to increase the acidity.  Okay, I get that but at what ratio?  I spoke to a nice guy at the Extension office and he said to mix it half and half with compost.  Apparently, you can never have too much compost.  Needless to say, I was still feeling a bit unsure about all of this.

The next step in my journey to learn about dirt was at an organic soil prep workshop.  One of the first things that the Master Gardener made us understand is that grass is persistent.  Unless you completely pull up ALL of the roots, you will not get rid of it and it will grow back.  This is why when you compost grass, it should only be grass clippings and not roots: you don't want your compost bin or where you incorporate your compost to start sprouting grass.  The areas that are going to be dug up in our yard won't be terribly deep, so we figured that unless we spend A LOT of time sifting that dirt it won't be terribly useful thanks to that persistent grass.

Ultimately, it looks like we're going to be ordering a few yards of organic soil to fill the raised garden bed.  This way, we know that it's exactly what the plants need, don't have to worry about figuring out the right proportions of things to add to our soil, and it will save us time and energy so we can focus on our other project.

We're in the middle of the hottest and wettest time of year down here, so I think we're going to wait until some time in September or even October maybe to get the bed filled.  I don't want to plant any new greenlings in this and have them stressed before they even have a fighting chance to grow.  Not to mention, I don't want to work in this heat, either!

I've been learning a lot about amendments to the soil, mulching, feeding, and watering, too.  But that's for another day and another blog post.

Tuesday, June 21, 2011

Catnip is a Mighty Mint Indeed

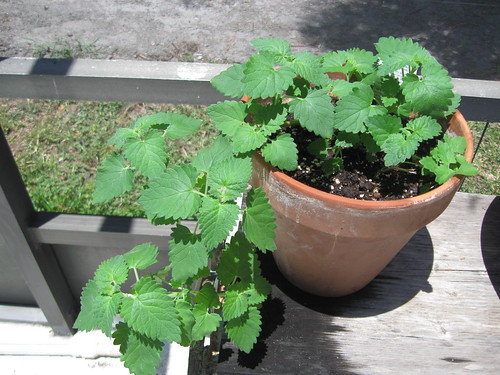
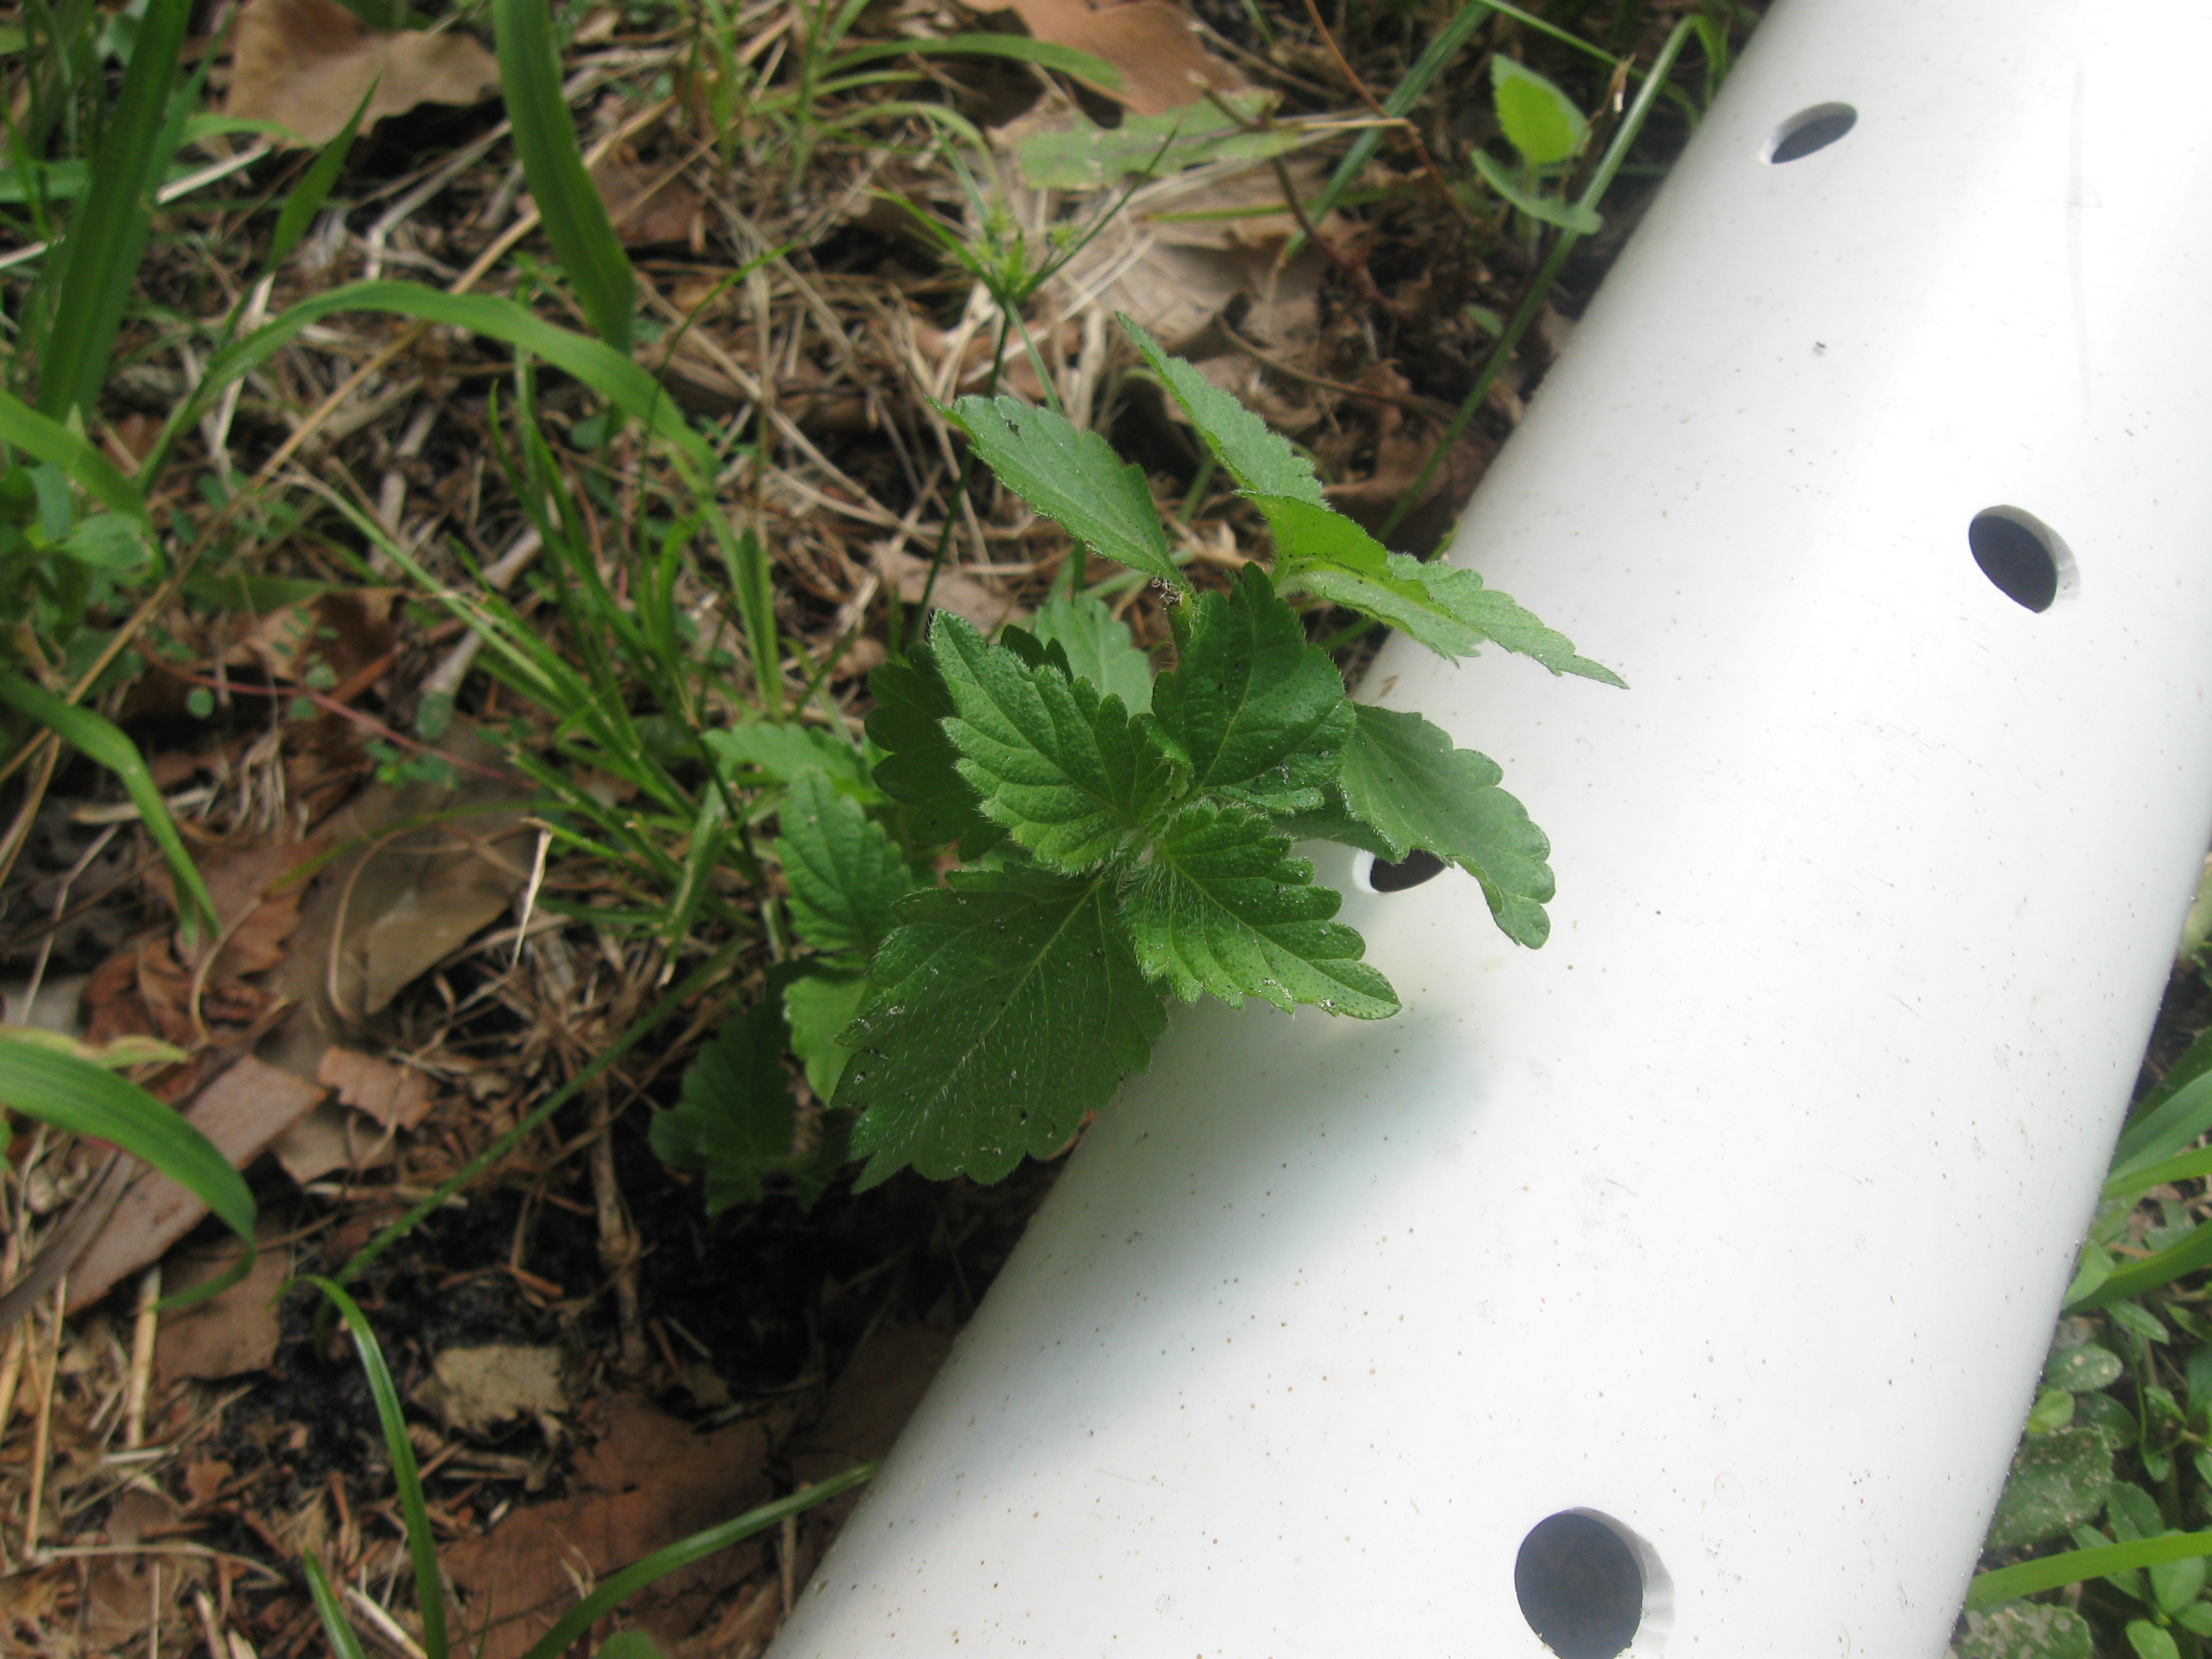
Remember a Wordless Wednesday post only just a few weeks ago where I featured my poor catnip plant that got ravaged by a neighborhood cat?  Not only has the plant survived, but it's thriving!

The Catnip is Thriving!

There is an old saying about this plant:
      "If you set it, the cats will eat it,
       If you sow it, the cats don't know it."

The theory is that they are attracted to the scent of the catnip when it's in a weakened state such as bruised or having been transplanted.  I haven't tried growing it from seed, so I can't speak to that but the neighborhood cat did attempt to destroy the poor plant.  My Jack cat smells it on my hands when I touch it, but he hasn't tried to get to it yet.  I don't know if that's because the plant is now happy or if Jack it just a good boy.  I'm wondering whether I should try putting it into the garden bed when it's finished or if it will again be weakened and, thus, subject to attack.


By the way, catnip tea is a wonderful mild nervine.  It's also valuable in the case of fever as it will produce perspiration and encourage sleep.


Sunday, June 12, 2011

The Raised Garden Bed Is Built!

So exciting!!  We worked on the bed again yesterday.  While Scott was at work, I built all of the timbers we needed for the second level.

And then while I was at work, he put them all in...
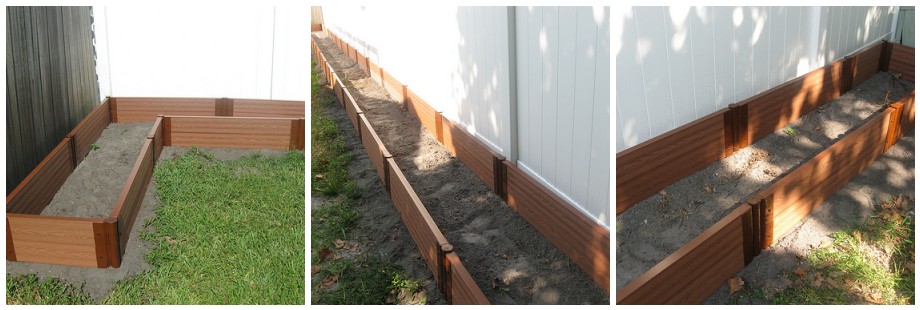
Level 2 of the Garden Bed Mosaic 

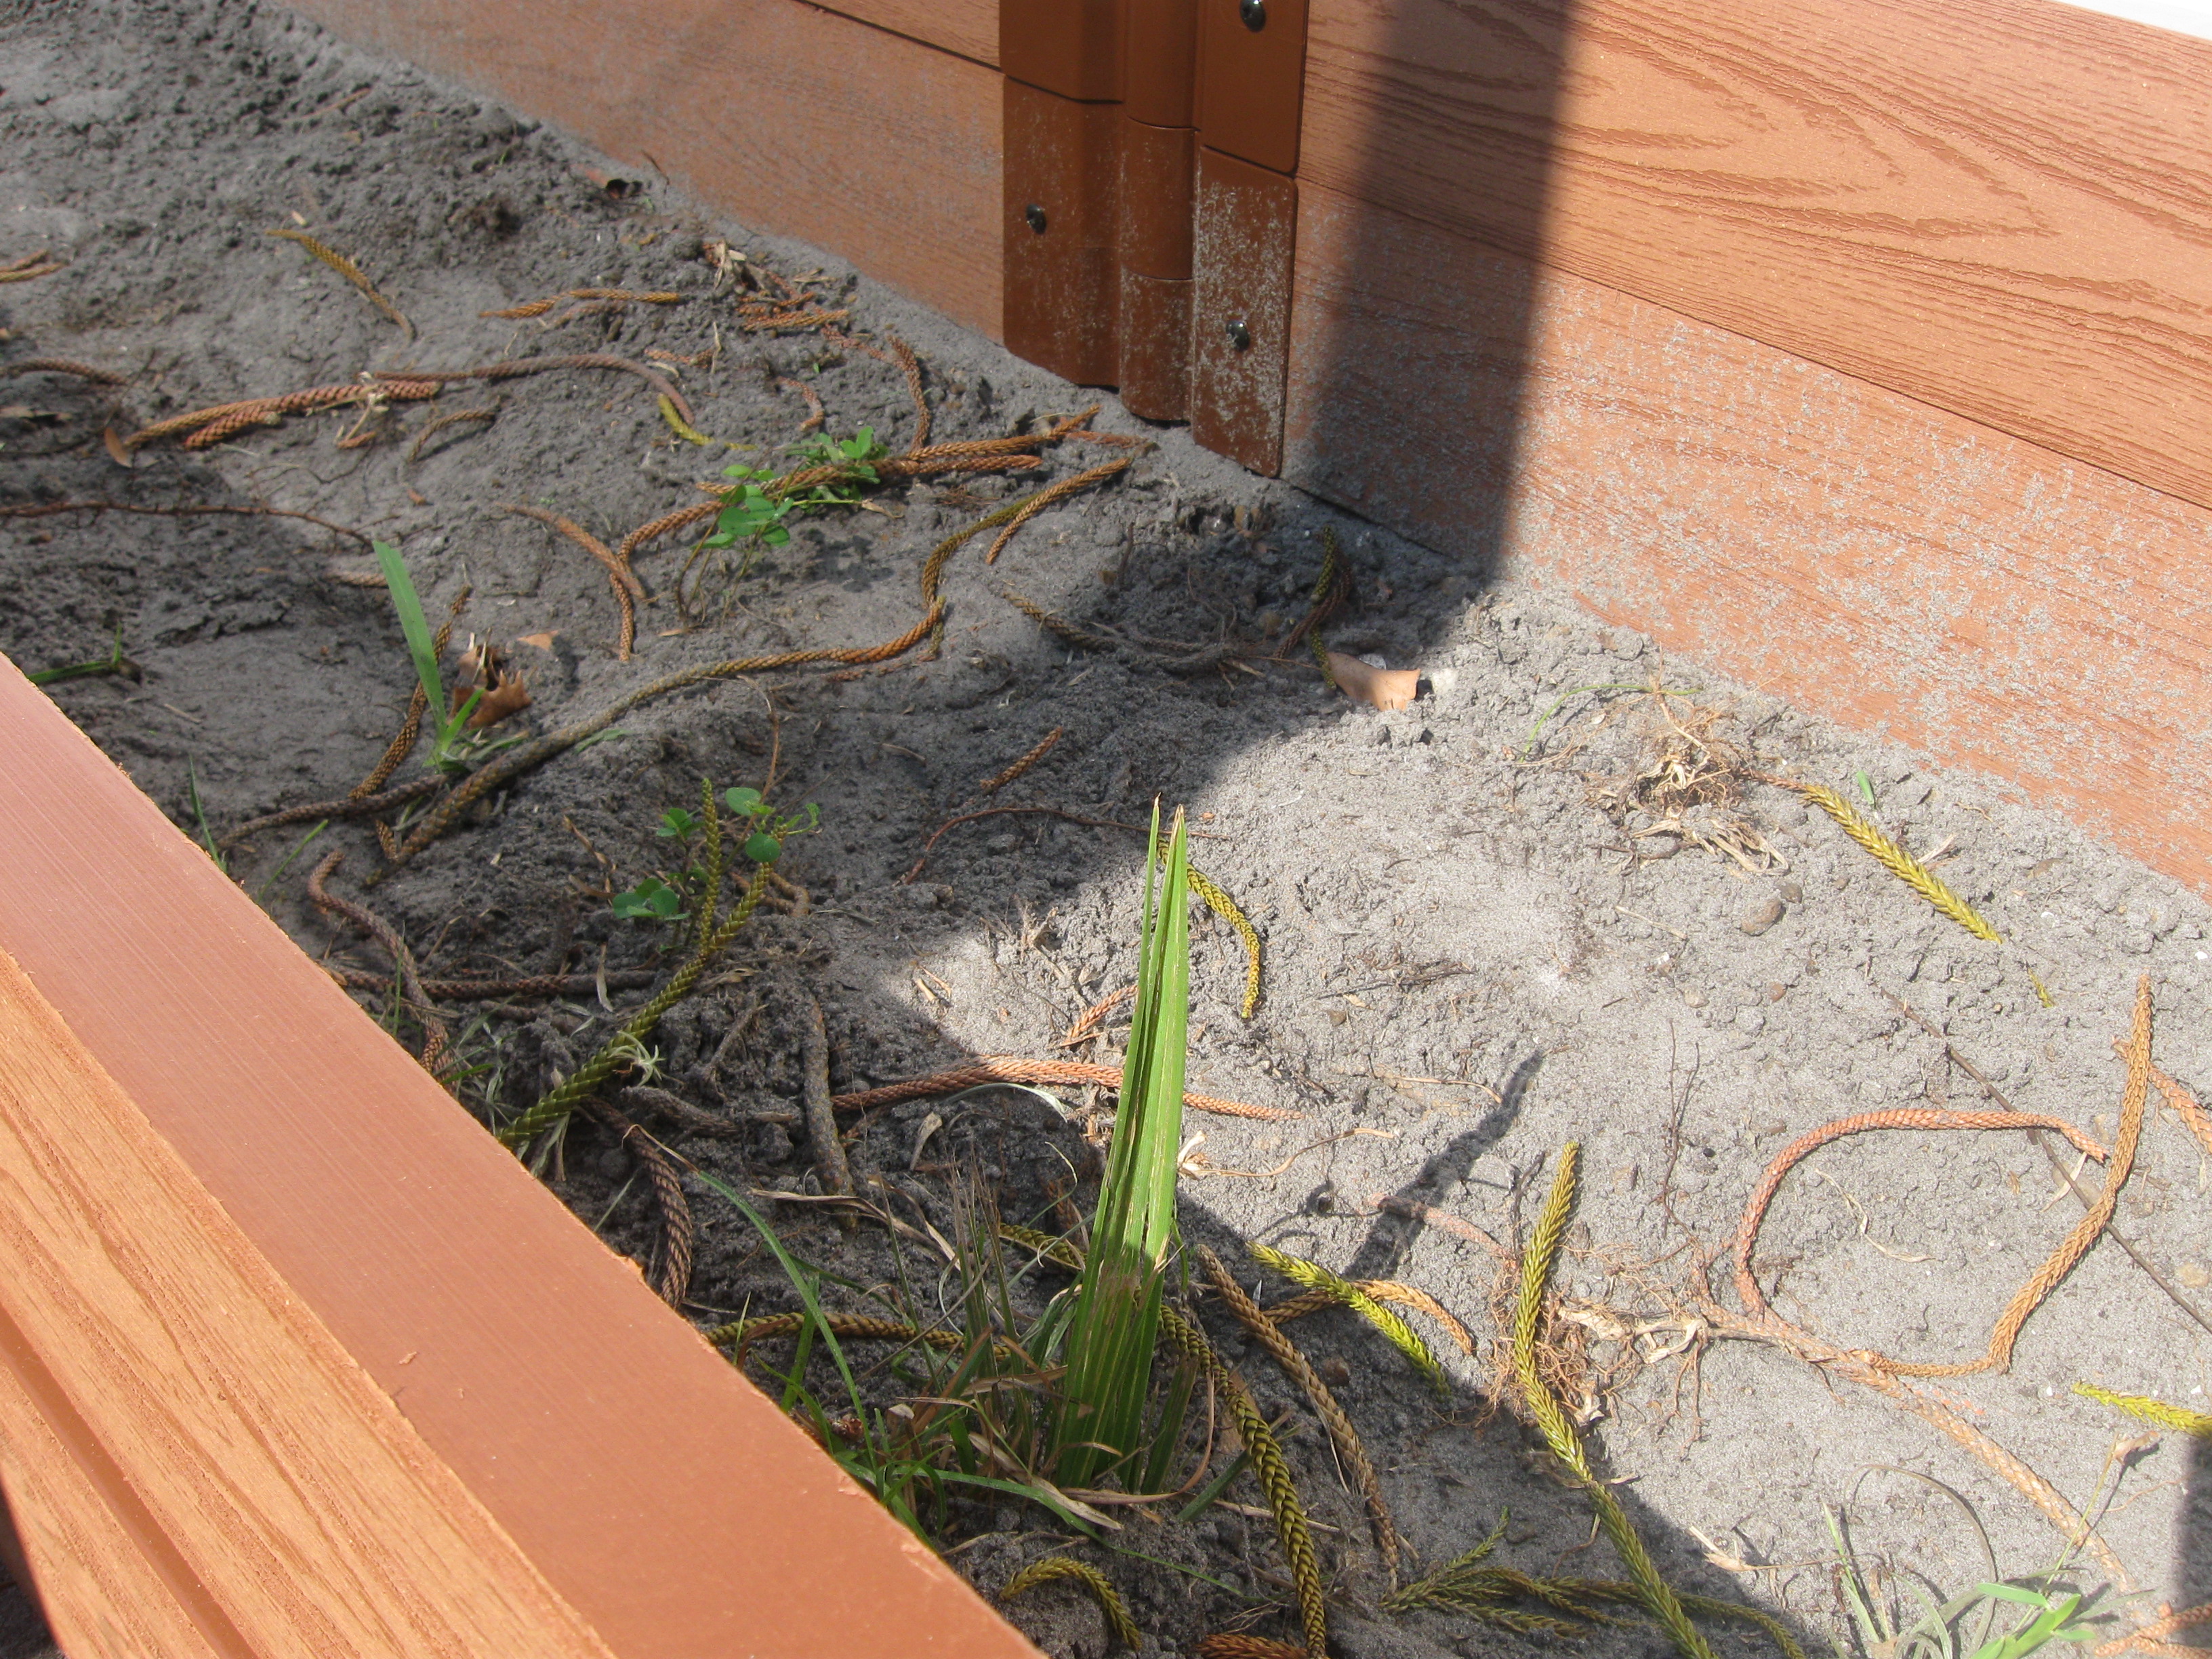
 And this is the reason why we plan to put the landscape fabric in... Lots of grass and weeds have already grown back.  I also have a feeling that those things from our neighbor's tree will drive me crazy once the plants are in.


Grass & Weeds: What the Landscaping Fabric is For

It looks so great and has so much potential.  In order to get the fill dirt for it, we begin phase two of the yard projects...

Saturday, June 11, 2011

Raised Garden Bed Project: The First Layer of Timbers is Done!

We spent a couple hours working outside yesterday and...  we're another step closer!  The first layer of timbers is assembled for the raised garden bed!!

It has been some time since we last worked on it and it's rained, so our nice level surface wasn't nearly as level and quite a bit splattered so we needed to rake and tamp a little more.  Somehow, I managed to do something to my neck while raking.  =(  Also, the bugs are biting me like crazy, but not Scott.  Guess I need to make up some anti-bug bite juice for the next time we go out to work.

Raking & Tamping, then Laying Timbers

Anyway, once we got our ground level again Scott got to work on laying the timbers and staking them in while I went and assembled a few more (just like last time...).  We finally got the entire first level row assembled!

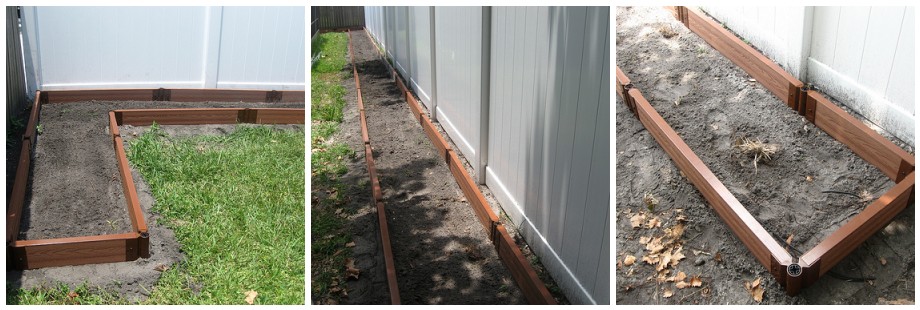
Garden Bed Mosaic

Remember that lantana plant that Scott accidentally weed whacked?  It's coming back.  Resilient little guy.
The Lantana Plant is Coming Back!

As usual, we came in slightly the worse for the wear, but feeling accomplished.  Next step in the process: assembling the second (and last) row of timbers (drilling the hinges onto them and then staking to the first level) and laying the landscaping fabric (to prevent the grass and weeds from growing through the dirt).

Saturday, May 28, 2011

Starting to Build the Garden Bed Frame

Two garden updates in one week!  Yay!  We were actually able to start assembling the bed.  It's actually a fairly simple process, it's just going to take a little bit of time.

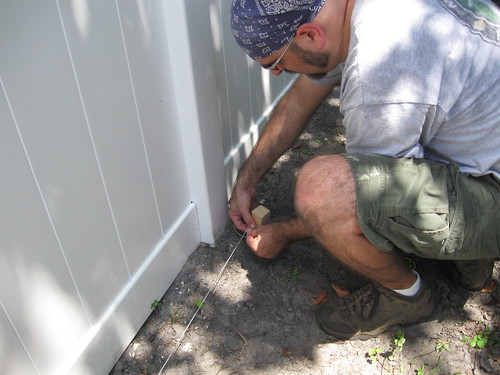
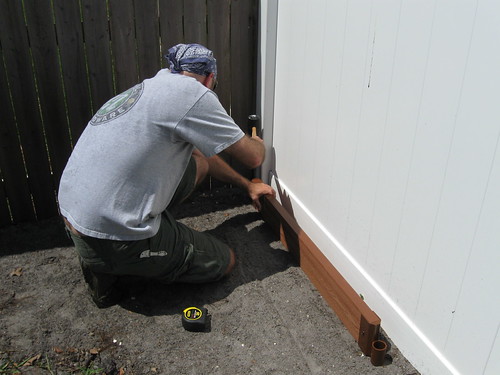
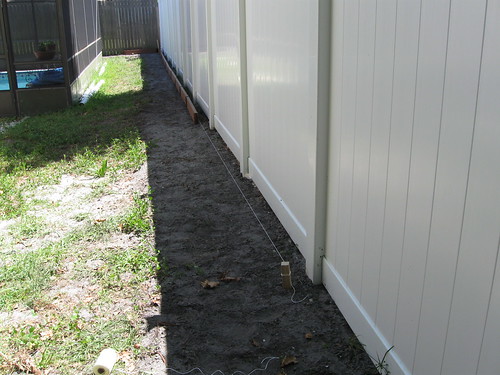
First off, we staked a line with string so that we assembled it straight.
String Line for a Straight Line

The keystone getting staked in!
Keystone!

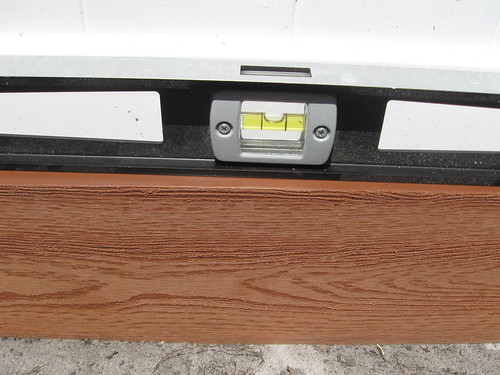
A quick check of the level shows that we did a good job getting the ground even the day before.  Unfortunately, the drill battery died, so we only got this far before we had to take a break.
It's Level! Go us!!  

By the time the drill was charged and we put together a few timbers and joints, we were only able to get a little bit assembled before Scott had to get ready for work.
So far, so good

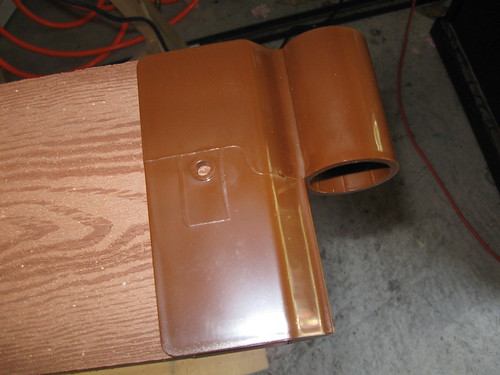
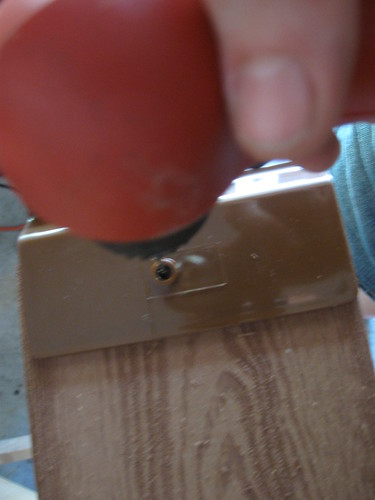
I decided to stay out and keep working on putting together the timbers and joints for a little while.  Step one: take a joint and put it onto a timber, ensuring that it is on all the way and square.
Step One

Step two: drill out the hole.
Step Two

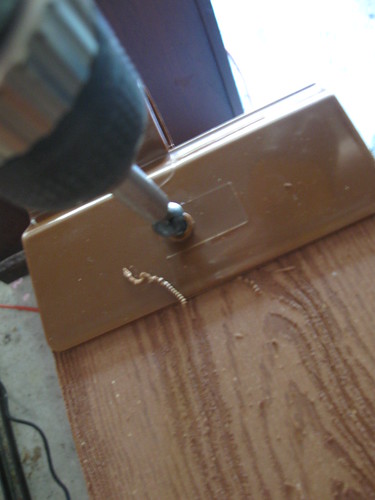
Step three: drill in screw.
Step Three

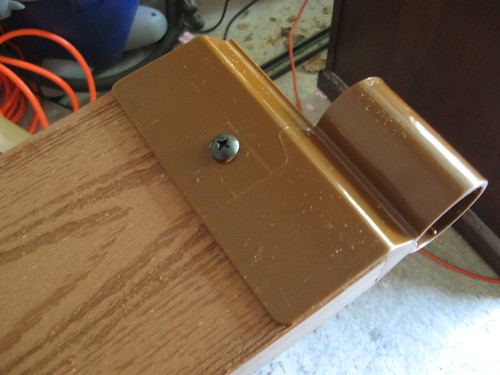
Step four: repeat on both ends and both sides.  Admire your work.
Step Four

I got into a groove and was actually having a lot of fun with it.  I got a lot accomplished.
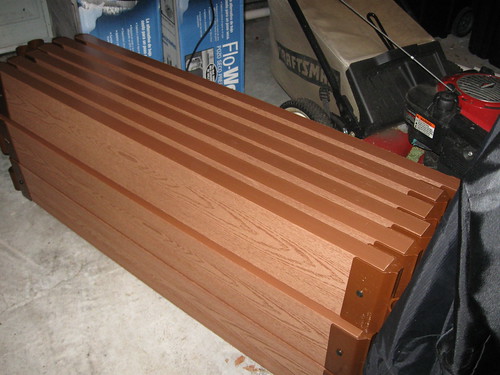
My Progress Assembling Timbers & Joints

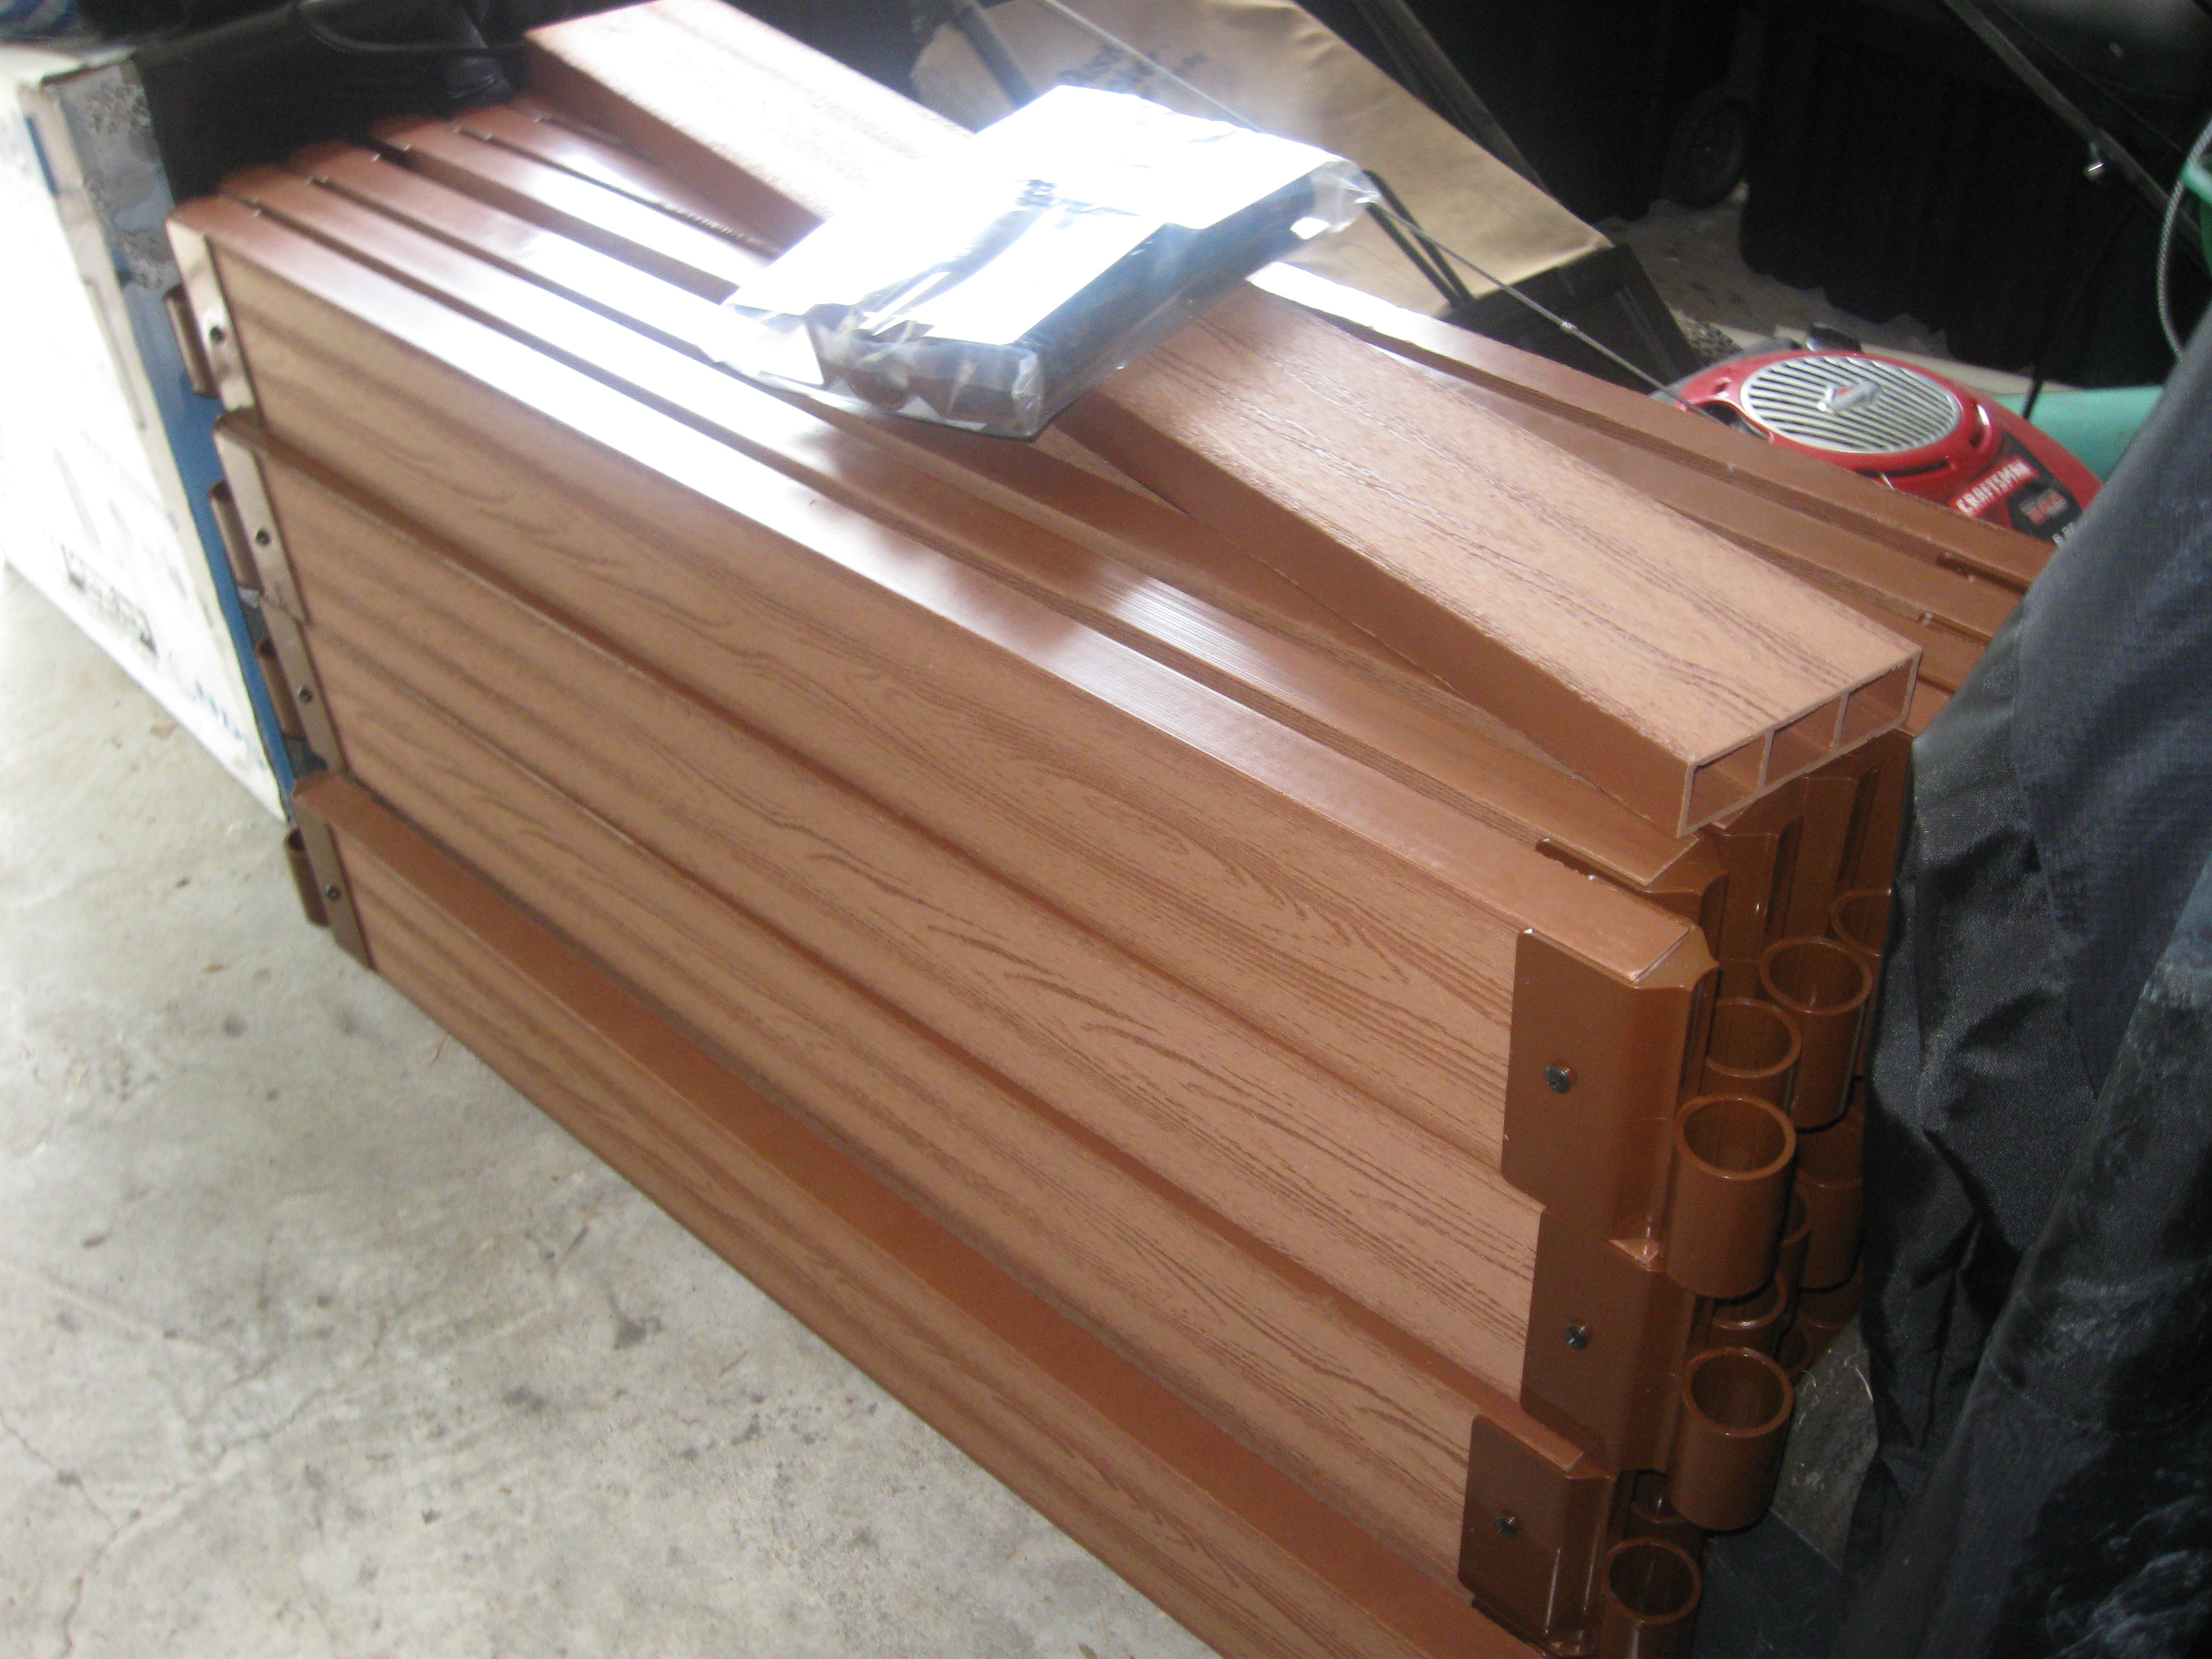
We decided to use composite timbers for this project for a couple reasons.  We considered wood, but neither one of us wanted termites to eat it away.  I also didn't want to use pressure treated wood (which they would avoid) because it would leach arsenic (among other things) into the soil and thus into the herbs, vegetables, and plants.  That would be unacceptable.  I hate the idea of putting plastic into a landfill but, in theory, this should last a long, long time.  In addition, we helped avoid putting plastic in a landfill using this: it's made from recycled plastic.  There are many more boxes where these came from!
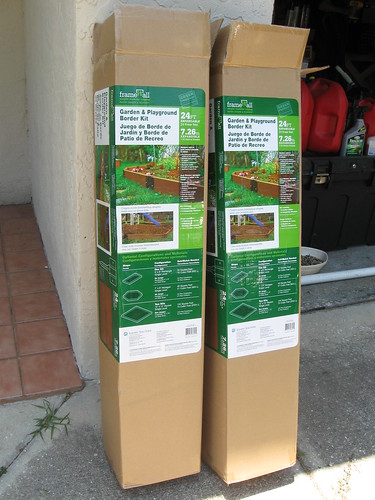
Our Supplies


Friday, May 27, 2011

More Prep on the Raised Garden Bed

We made some more progress prepping the land for the raised garden bed!  We spent three hours outside working on it (and mowing the lawn) and came in a bit weary, but the foundational work is done.

Last week, Scott finished getting rid of all of those crazy roots while I finished a bit more raking up of weeds and grass.  Basically, this step was all about building up the ground and leveling it.  We had a big pile of dirt from a ditch that Scott had been working on a while ago that we used to build up the area where the garden bed will go.

Big Pile of Dirt

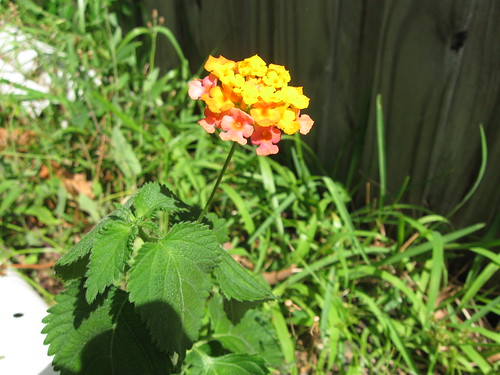
I got busy raking out the soil from the piles that Scott was distributing.  While we were working, I was thrilled to find this lantana plant growing wild in our grass.  I wanted to dig it out and plant it with my (store bought) lantana, but didn't get to it before it was weed whacked.  Scott meant well: he left behind a weed thinking it was the one I wanted.  Oops.  Oh, well.  Maybe it will grow back...  Anyway, the one I have blossoms a very pale yellow and turns pink.  This one was orange and pink.  I really love how they change colors!
Lantana

After all of the dirt was distributed, we went back and wet the ground.  Our soil is really, really sandy.  We tried to use the tamper without it wet and it just went up in a cloud of dust and scattered everywhere.
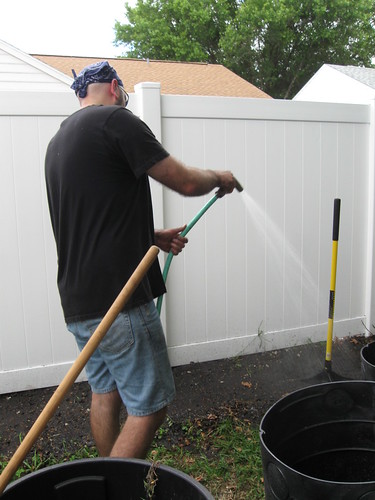
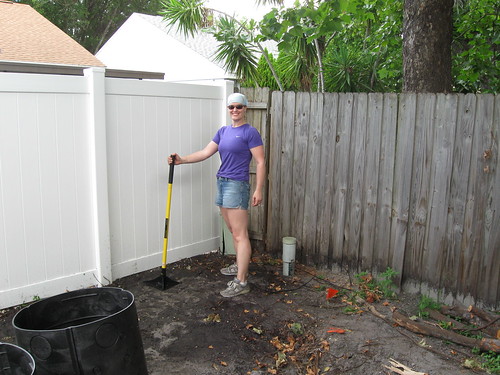
Wet is All the Better To Tamp

I took on the task of tamping while Scott went off and mowed the lawn.  I tried to let the tool do the work for me, but it's still damn heavy!

Me Starting the Tamping

By the time we were done, the pile of dirt was gone.

Pile of Dirt is All Gone

And, hopefully, we now have level ground to start assembling the bed.

Level Ground

So excited!

Friday, May 13, 2011

It Begins: The Raised Garden Bed Project

I'm excited to share with you that we started prep work on our various yard projects yesterday!  It doesn't actually look like much yet, but it's a pretty huge start for us.  Work on the raised bed (herb, veggie, flower, etc.) garden is underway!

In one of my recent Wordless Wednesday posts, I featured a picture of the hibiscus bush that we had in the yard.  The hibiscus wasn't doing too terribly well where it was planted because of the neighbor's massive tree: it was in the shade (they usually love full sun down here) and the tree's root system seems to be taking over.  Knowing that made me feel a little better about the fact that we had to remove it since it's in one corner of the yard where the raised garden bed will be.  My first order of business was working on chopping it down; Scott had to help me get the roots out of the ground (it was in deep and seemed to be fighting for it's life).  Can I just tell you how it broke my heart to get rid of it?  This is ultimately what it boiled down to:

This Was the Hibiscus Bush

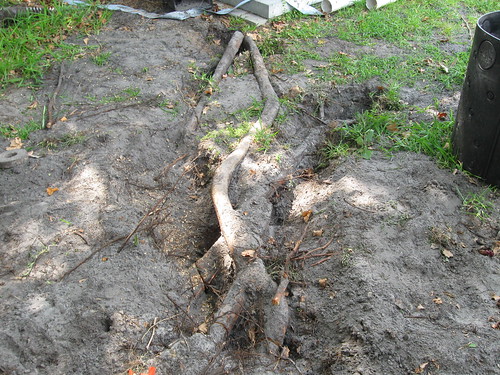
Scott had the not so fun task of working on the massive root system that was taking over that corner of the yard.  The roots there run deep and actually intersect a few times.

This Root System Must Go, Too

This is the corner where the hibiscus bush was before removal.  The garden bed will extend from this corner across the entire length of the back fence line and also come out a feet few along the side fence lines.

Hibiscus Corner

Since this corner is so shady, this is where the mint garden will go.  I already have peppermint, lemon balm, bee balm, and catnip which are all members of the mint family so that's a good start.  I hope to add chocolate mint and spearmint, among others.

While Scott was working on the roots, I started raking to pull out grass and weeds as well as to start leveling the soil along the fence line.  We need to get a tamper to really level things out, but this at least gives us somewhere to start.

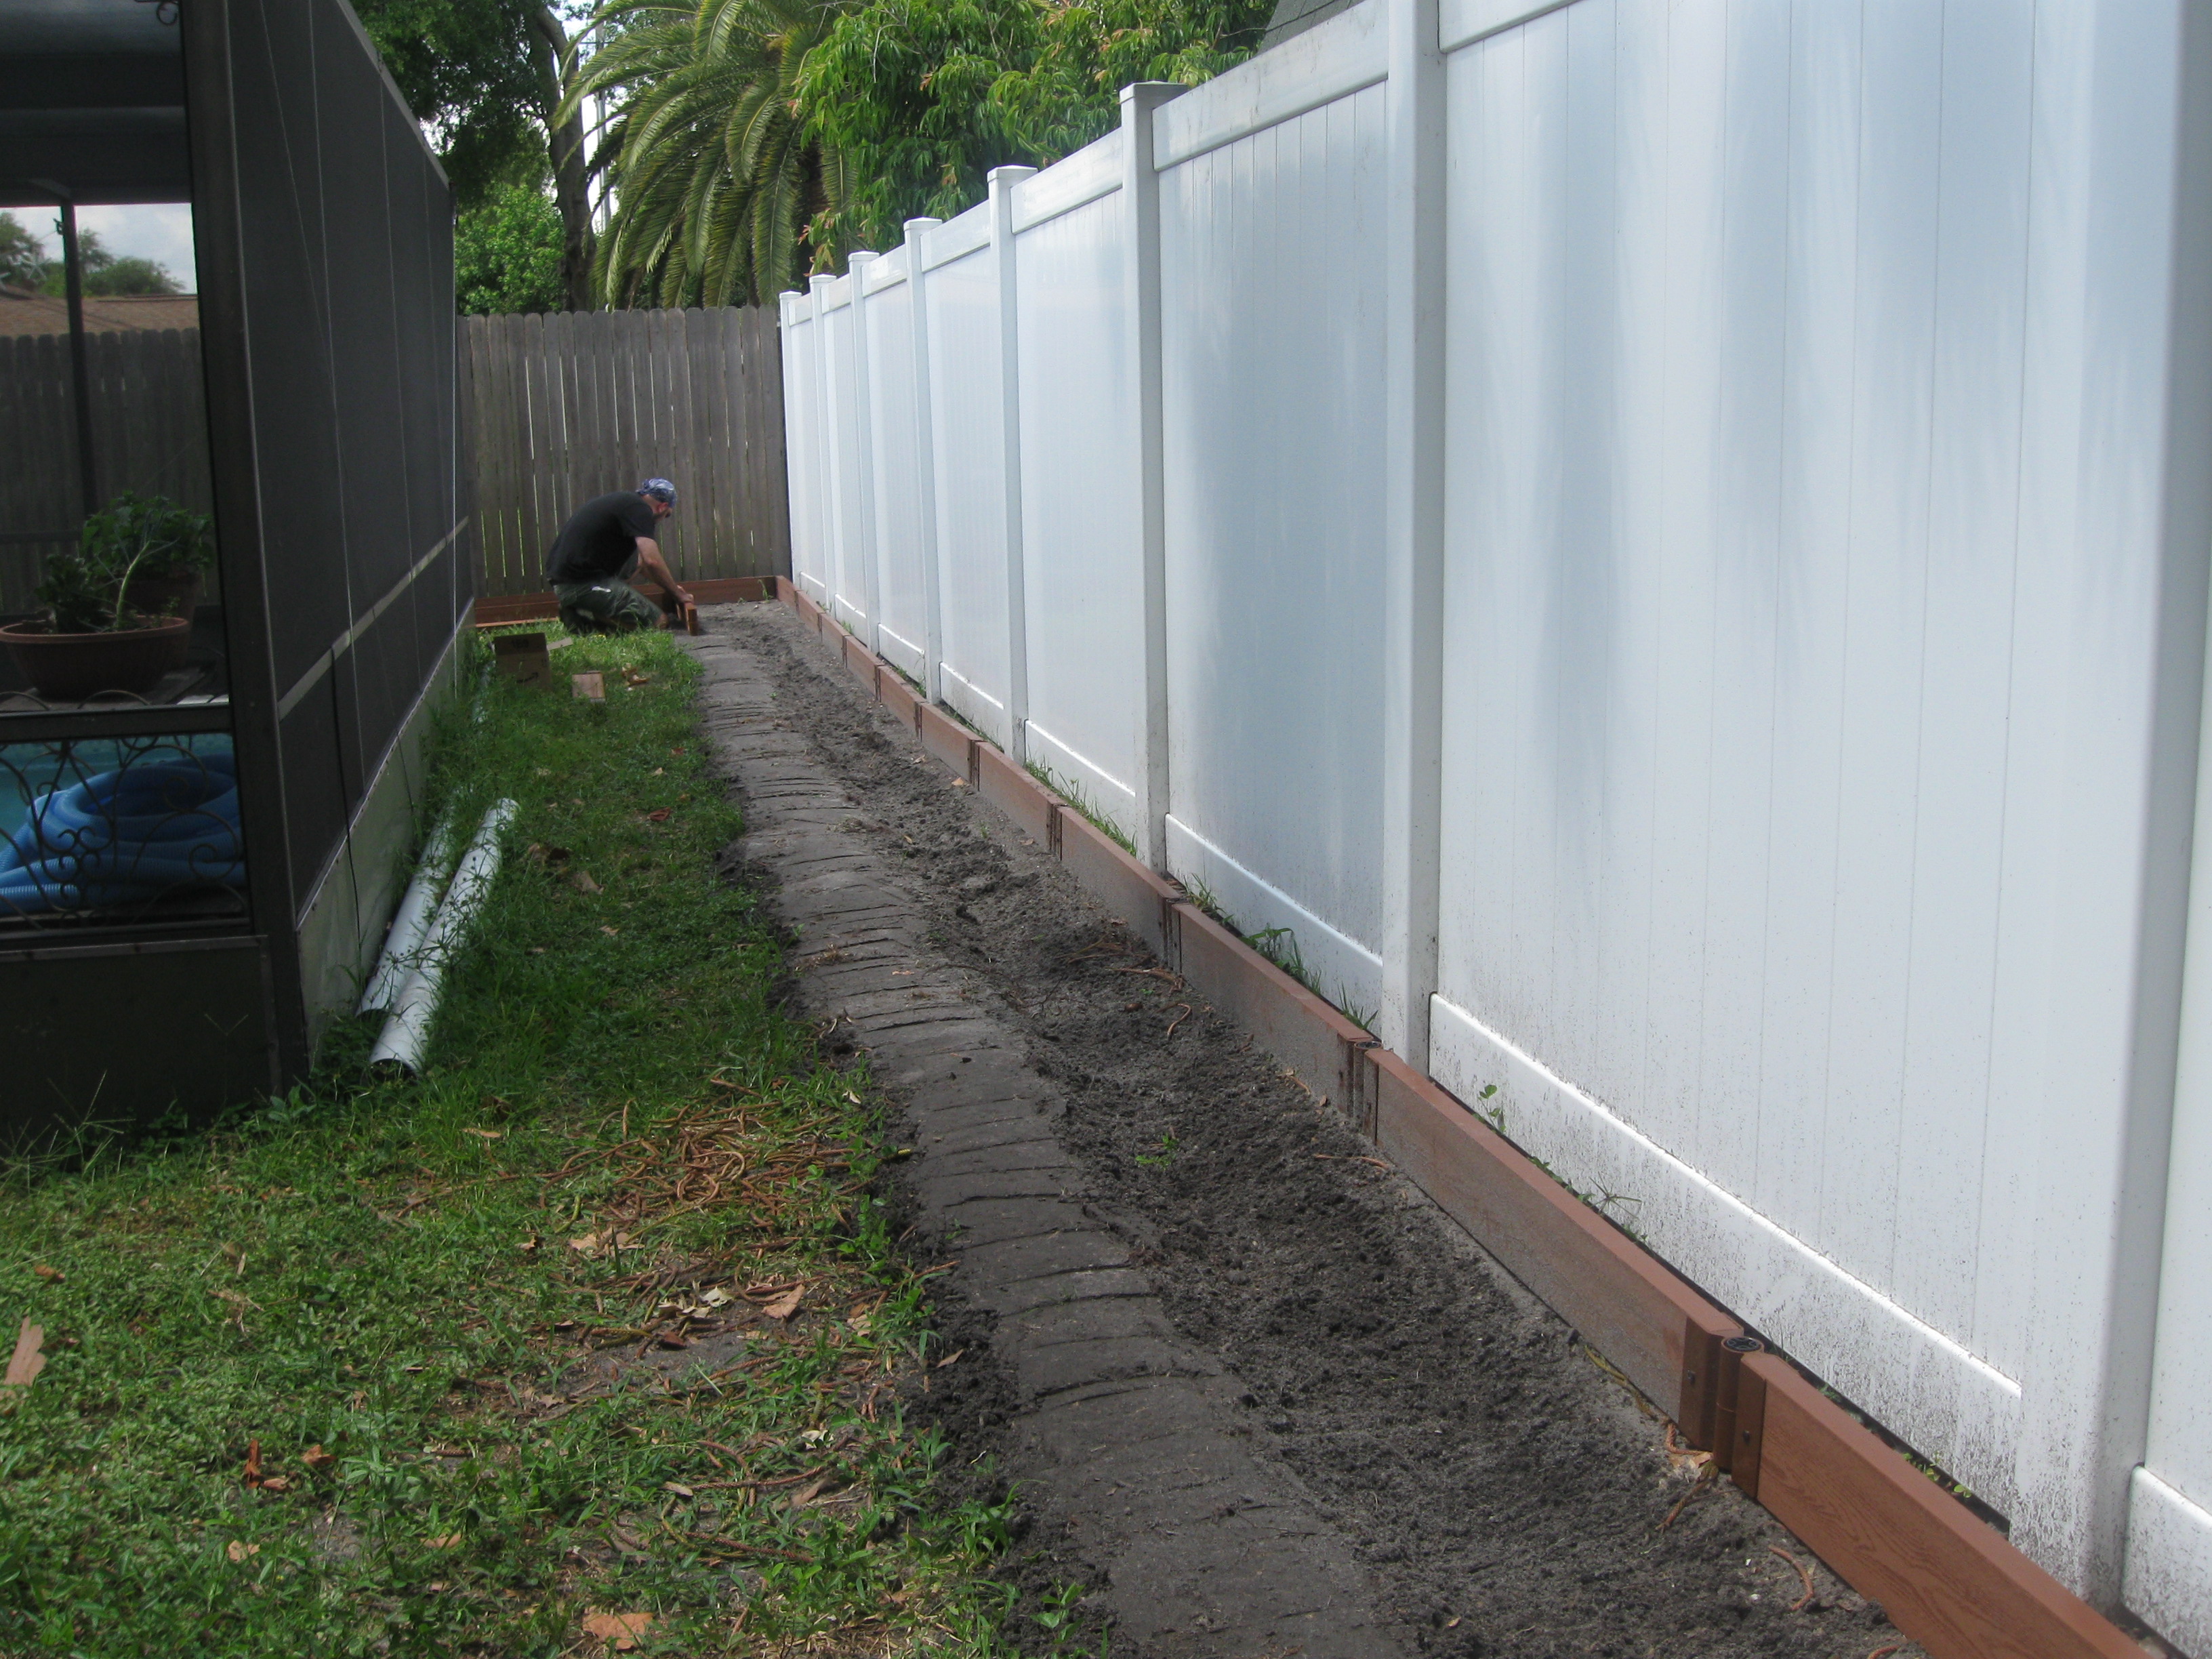
Pretty Much the Whole Length of the Raised Bed

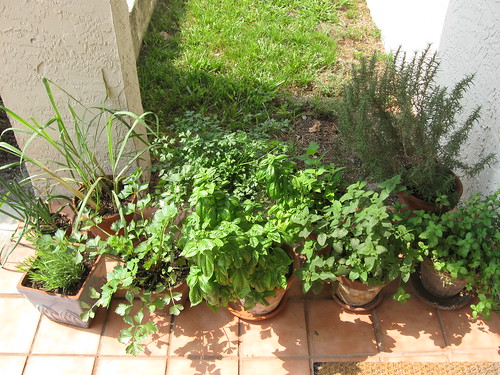
Here is the teeny, tiny little container herb garden that I have now.

My Little Container Garden

It includes: rosemary, mint, lemon balm, bee balm, basil, parsley, celery, lemongrass, scallions, and lavender.  The lemongrass and my aloe will go on the opposite end of the yard from the shady mints since it gets SOOO much sunlight down there.  I started a pineapple plant, too, so if that continues to do well it will go in the sun.  Aside from that, everything else is up in the air.

I know I want to get a beautyberry bush (I love the name, it reminds me of a 3 Day training walk when I first spotted one, and apparently you can make wine from the berries!) as well as grow calendula and chamomile.  I had a yarrow plant a while ago, but the poor thing died in the winter so I'd love to grow another one.  I heard that to grow garlic, all you have to do is plant a few cloves of it in the ground: a flower will blossom and eventually, you'll have a bulb of garlic.  (psst: Just found this great post about growing garlic.)  That's really just a few ideas, but there are so many herbs and veggies that I would love to grow!

Coming up next (hopefully next week) in the project will be getting the tamper & finishing to level the soil, finishing up with those huge roots, and assembling the raised bed.  What are you working on in the yard/garden?  Please share!