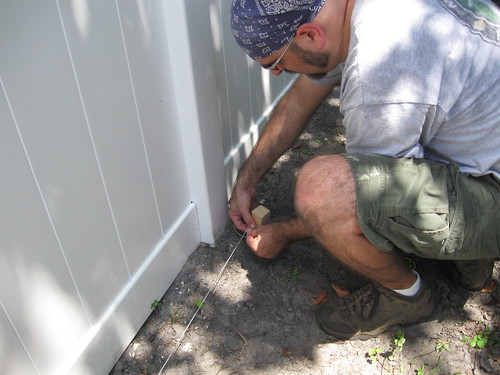
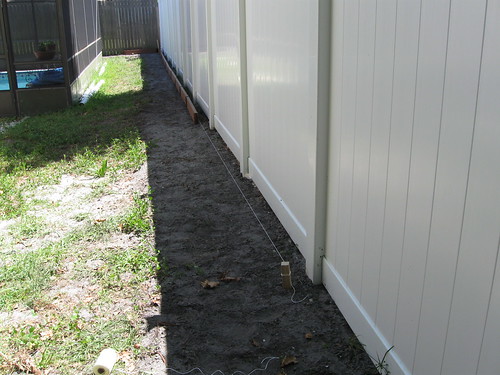
First off, we staked a line with string so that we assembled it straight.
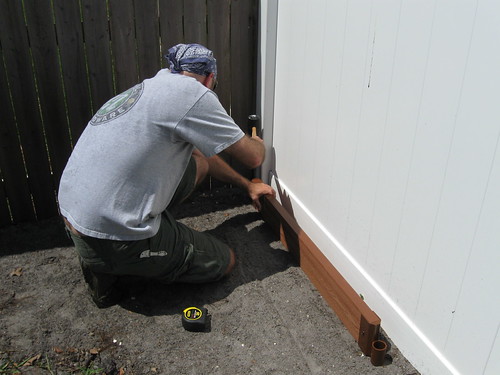
The keystone getting staked in!
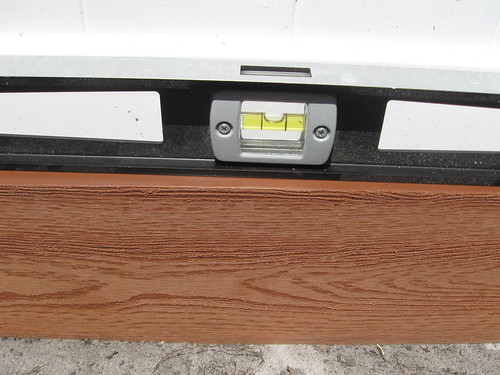
A quick check of the level shows that we did a good job getting the ground even the day before. Unfortunately, the drill battery died, so we only got this far before we had to take a break.
By the time the drill was charged and we put together a few timbers and joints, we were only able to get a little bit assembled before Scott had to get ready for work.
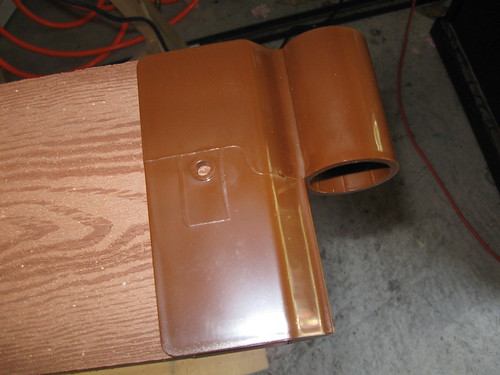
I decided to stay out and keep working on putting together the timbers and joints for a little while. Step one: take a joint and put it onto a timber, ensuring that it is on all the way and square.
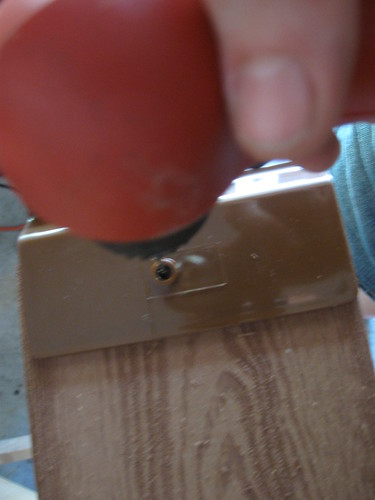
Step two: drill out the hole.
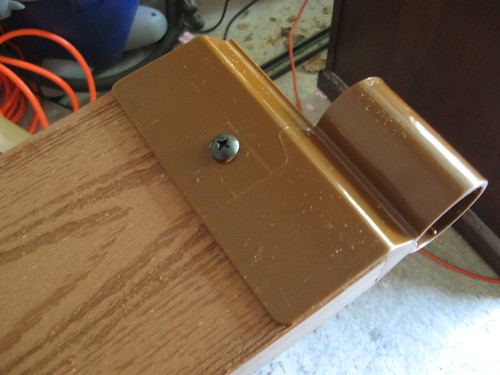
Step three: drill in screw.
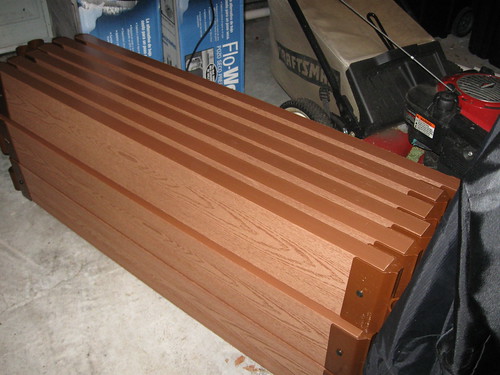
Step four: repeat on both ends and both sides. Admire your work.
I got into a groove and was actually having a lot of fun with it. I got a lot accomplished.
We decided to use composite timbers


No comments:
Post a Comment